Introduction
Flutter is Google's UI toolkit for building beautiful, natively compiled applications for mobile, web, and desktop from a single codebase.
Flutter, a Google-created framework, facilitates open-source mobile app development for both Android and iOS platforms. It serves as the primary tool for creating applications, with shared configuration steps for Android and iOS compilation. This comprehensive guide will walk you through the complete installation and setup process.
Quick Navigation
System Requirements
Ensure you have the exact versions specified below to avoid compatibility issues.
| Flutter Version | 3.38.6 |
| Dart Version | 3.10.7 |
| DevTools Version | 2.54.3 |
| Engine Revision | edd8546116 |
| Framework Revision | 761747bfc5 (June 5, 2024) |
| Repository | https://github.com/flutter/flutter.git |
To edit this project, you must have Flutter and Dart installed and configured successfully on your device. Follow the installation guides in the next section.
Recommended Setup & Installation
Follow these platform-specific installation guides to set up your development environment. Choose the tutorials based on your operating system.
1Install Android Studio on Windows
Android Studio provides the essential tools and Android SDK required for Flutter development.
2Install Flutter on Windows
Set up Flutter SDK and configure your environment variables for Windows development.
1Install Android Studio on macOS
Learn how to install Android Studio along with Java JDK and configure JAVA_HOME on Mac.
2Install Flutter on macOS
Complete Flutter installation guide for macOS including PATH configuration.
1Install Android Studio on Linux
Step-by-step guide for installing Android Studio on Ubuntu 22.04 LTS / 20.04 LTS.
2Install Flutter on Linux
Install Flutter and create your first Flutter project on Ubuntu with Android Studio.
Getting Started
1Download and Extract the Project
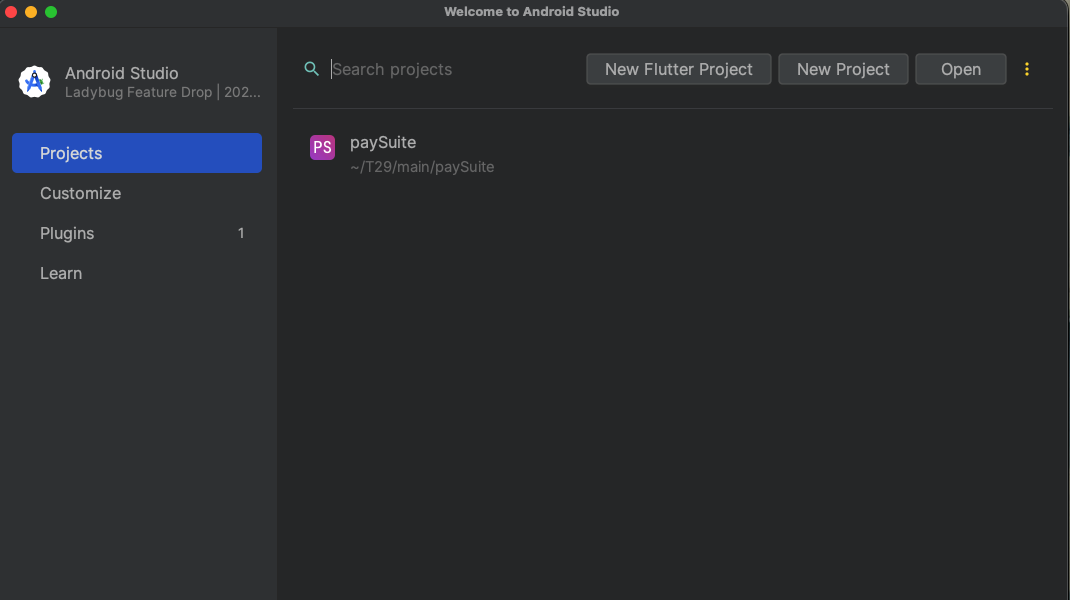
Download the PaySuite Flutter application package and extract it to your preferred location. Open the project using your preferred IDE:
- Android Studio (Recommended)
- Visual Studio Code
- IntelliJ IDEA
2Configure API Base URL
Establish a connection between your mobile app and the REST API by editing the remote link.
utils/app_constants.dart
Update the base URL to point to your backend API endpoint:

Ensure your API URL ends with a forward slash (/) and uses HTTPS for production environments.
3Customize App Icon
Replace the default app icon with your custom logo or branding.
android/app/src/main/res/mipmap-mdpi/launcher_icon.png
Navigate to the directory and replace launcher_icon.png with your desired image:
- Format: PNG with transparency
- Color Space: RGB
- Minimum Size: 512x512px
- Shape: Square with rounded corners (Android will apply adaptive icon treatment)
Tip: Use online tools like AppIcon.co or Canva to generate all required icon sizes automatically.
Android Configuration
Android requires multiple icon sizes to support different screen densities. Generate all required sizes for optimal display across devices.
Generate App Icons for All Densities
You need to create app icons (ic_launcher.png) for multiple screen densities. Use an icon generator tool to create all required sizes automatically.
Recommended Icon Generator Tools:
- AppIcon.co - Free online generator
- Android Asset Studio - Official tool
- Canva App Icon Generator - Design-focused
Steps:
- Upload your 1024x1024px icon design
- Choose Android platform
- Download the generated icon package
- Extract and replace the folders in your project
Replace Icons in These Folders:
| mipmap-mdpi | /android/app/src/main/res/mipmap-mdpi/ |
| mipmap-hdpi | /android/app/src/main/res/mipmap-hdpi/ |
| mipmap-xhdpi | /android/app/src/main/res/mipmap-xhdpi/ |
| mipmap-xxhdpi | /android/app/src/main/res/mipmap-xxhdpi/ |
| mipmap-xxxhdpi | /android/app/src/main/res/mipmap-xxxhdpi/ |
Get Dependencies
Install Project Dependencies
Run the following commands in your terminal to fetch all required packages and clear any cached files:
- flutter clean: Removes build artifacts and cache files. Use this when you encounter build issues or want a fresh start.
- flutter pub get: Downloads all the dependencies specified in your
pubspec.yamlfile and generates the necessary lock files.
You should see "Got dependencies!" message when the command completes successfully.
Modify Package Name
The package name uniquely identifies your app on the Play Store. Once published, it cannot be changed. Choose carefully!
1Edit build.gradle File
Modify the package name in the following file:
/android/app/build.gradle
Update the applicationId in the defaultConfig block:
defaultConfig {
    applicationId "com.yourcompany.yourapp"  // Change this
    minSdkVersion 23
    targetSdkVersion flutter.targetSdkVersion
    versionCode flutterVersionCode.toInteger()
    versionName flutterVersionName
}- Format: Reverse domain notation (e.g.,
com.company.appname) - Characters: Lowercase letters, numbers, underscores, and periods only
- Structure: Typically 3 parts - domain, company, app
- Examples:
com.paysuite.mobilecom.yourcompany.paymentappio.github.username.projectname
2Update Dependencies
After changing the package name, run the following command to update dependencies:
Consider using the change_app_package_name package to automatically update package names across all files. Install it with: flutter pub global activate change_app_package_name
Run & Build Android Application
1Select Target Device
In the target selector, choose an Android device to run the app. This can be:
- Physical Android device connected via USB (with USB debugging enabled)
- Android Virtual Device (AVD) emulator
Steps to create an AVD:
- Open Android Studio
- Go to Tools → Device Manager (or AVD Manager)
- Click "Create Virtual Device"
- Select a device definition (e.g., Pixel 4)
- Choose a system image (recommended: latest Android version)
- Configure AVD settings and click "Finish"
Recommended Settings: At least 2GB RAM, 2GB internal storage, and enable hardware acceleration for better performance.
2Run the Application
If you're using Android Studio or IntelliJ, click the Run button in the toolbar. Alternatively, use the command line:
flutter run --release- Run in release mode (better performance)flutter run --debug- Run in debug mode (default, with hot reload)flutter run --profile- Run in profile mode (for performance analysis)flutter run -d <device-id>- Run on specific device
Check available devices: flutter devices
Build APK for Distribution
1Build Release APK
Create a release version of your app that can be installed on Android devices:
The APK file will be generated at: build/app/outputs/flutter-apk/app-release.apk
2Build App Bundle (Recommended for Play Store)
When publishing to the Google Play Store, it's recommended to use App Bundle format for smaller download sizes and better optimization:
Benefits of Android App Bundle (AAB):
- Smaller Downloads: Users download only the code and resources needed for their device
- Dynamic Delivery: Google Play generates optimized APKs for each device configuration
- Asset Delivery: Support for on-demand and install-time asset delivery
- Required for New Apps: Google Play requires AAB format for new apps since August 2021
Learn more: Android App Bundle Documentation
The AAB file will be generated at: build/app/outputs/bundle/release/app-release.aab
3Install APK on Device
To install the generated APK on a connected device, use:
Or install directly using ADB:
- Update version code and version name in
pubspec.yaml - Test the app thoroughly on multiple devices
- Verify all API endpoints are pointing to production
- Remove debug logs and test code
- Sign your app with a release keystore (required for Play Store)
- Update app icons and splash screens
- Review app permissions in
AndroidManifest.xml
Signing Your App for Release:
Before publishing to the Play Store, you need to sign your app with a release key. Follow these steps:
- Generate a keystore:
keytool -genkey -v -keystore ~/key.jks -keyalg RSA -keysize 2048 -validity 10000 -alias key - Create
android/key.properties:storePassword=your_store_password keyPassword=your_key_password keyAlias=key storeFile=../key.jks - Configure signing in
android/app/build.gradle
Security Warning: Never commit your keystore file or key.properties to version control! Keep them secure and backed up.
Documentation: Flutter - Sign your Android app
You've successfully set up, configured, and built your PaySuite Flutter application. Here are some next steps:
- Test your app on multiple devices and Android versions
- Review the Instruction Guide for app features
- Check out the iOS Installation Guide for deploying to iOS
- Prepare your Play Store listing and screenshots
- Submit your app for review on Google Play Console